Guide
How to Dermaplane at Home: Tools, Steps, Aftercare and Risks
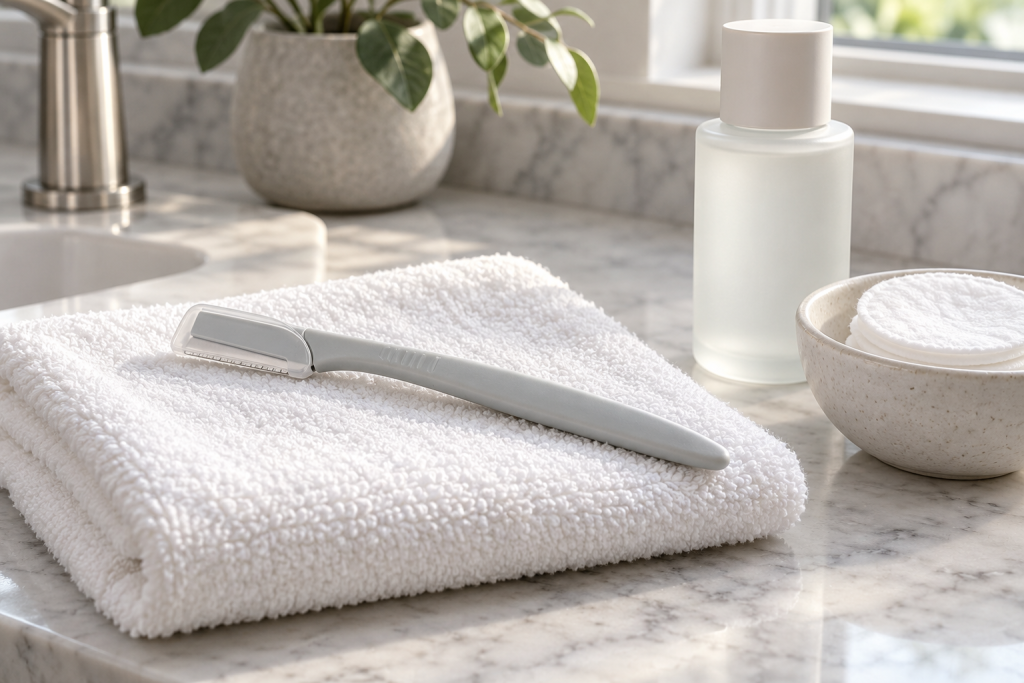
Dermaplaning at home means lightly gliding a single sharp blade across clean, dry skin to remove fine facial hair and surface flakes. It is a sharp-tool skill, not a skincare shortcut. It is not for everyone, and it is not risk-free. Read the “who should not dermaplane” section before you buy anything.
This guide is written by a blade store, so it covers the tool side in detail: what to have on the counter, how to hold and move a blade, and how to look after it. For the skin side, we stick to what named dermatology sources say, and where we could not find a source we say that instead of guessing. This is general information, not medical advice. If you have a skin condition, ask your dermatologist first.
Who should not dermaplane
The clearest rule from the dermatology sources we checked is to skip it when your skin is not calm.
Active skin problems
Cleveland Clinic’s patient page on dermaplaning (medically reviewed, last updated April 6, 2022) says some people with preexisting skin concerns should not have the procedure, and lists an active case of acne and cold sore outbreaks. It also lists eczema, psoriasis and contact dermatitis as conditions to discuss with a provider first. In a Cleveland Clinic Health Essentials article on trying it at home (June 13, 2022), dermatologist Melissa Piliang, MD, is quoted on the same theme: if you are in the midst of a breakout, wait it out, and skip dermaplaning during an eczema flare-up or any other active skin issue.
Open skin and cuts
Do not run a blade over broken, scraped, sunburned or freshly irritated skin. That is our rule as a tool seller, not a quote from a study: a sharp edge on skin that is already compromised only adds to the problem.
Retinoids, acids and other active products
Many people ask about retinoids and exfoliating acids. We did not find a dermatology source we could open that gives a specific rule for combining them with dermaplaning, so we will not invent one. If you use prescription retinoids or have in-office treatments, ask the dermatologist who prescribes them before you add a blade to the routine.
Anyone unsure
Cleveland Clinic’s own list of questions to ask a provider includes “Can I perform dermaplaning on myself at home?” and “Will my hair grow back darker and thicker after dermaplaning?” Those are good questions to take to a dermatologist.
What you need
You do not need much, but each item matters. Cleveland Clinic’s Dr. Piliang describes the typical at-home tools as single blades on a little plastic handle that you lightly rub over your skin. Some people prefer a scalpel blade on a proper handle because the edge is straight and sharp. That is a more demanding tool, so only consider it if you are comfortable handling sharp blades.
The blade
Two blade shapes come up most often for this technique: the #10R and the #14. We do not sell those two. The #10, a standard scalpel blade with a broad curved cutting edge, is also used for dermaplaning, and it is the one we sell: sterile #10 blades in packs of ten, each in its own foil pouch. Use a fresh blade every session. A reused blade is a dull blade, and dull blades drag. If you are not sure how blade numbers work, our scalpel blade size guide explains the numbering and shapes.
The handle
The blade needs a handle that fits it, and the numbers must match. Fitting a blade onto a handle is itself a sharp-edge step: use a hemostat or a tool made for the job, never your fingertips. The #10 fits our #3 stainless steel handle, and the #10 set pairs that handle with ten sterile #10 blades. Our scalpel handles page lists what else we carry and which blades fit each.
Sterility: what we can and cannot say
ScalpelStore sells scalpel blades and handles. We do not sell them as medical devices, and nothing on this page is a claim that a product is cleared for use on skin. Only our packs of 10 blades and our disposable scalpels are supplied sterile, as stated on their product pages. Handles and craft knives are not supplied sterile. The Cleveland Clinic at-home article advises cleaning the razor before and after each use, because cuts can lead to infection. Follow the instructions on the product page for whichever item you choose.
Everything else
- A gentle cleanser and a clean towel.
- A well-lit mirror you can stand or sit at comfortably.
- A plain moisturizer and your usual daily sunscreen for afterward.
- A sharps container or a rigid, sealed bottle for the used blade. Our blade disposal box is made for this.
How to dermaplane at home, step by step
The steps below describe tool technique. We could not open a dermatology source that sets out a step-by-step method, so the order comes from how a sharp blade is safely controlled, not from clinical research. Cleveland Clinic’s at-home article only gives the broad guidance to dermaplane slowly and carefully and to clean the razor before and after use. Treat the rest as general technique and stop if anything feels wrong.
- Check your skin first. No active breakout, rash, cold sore, cut or sunburn. If any of these is present, stop here and try again when it has fully cleared.
- Prepare the blade. Fit a fresh blade to its handle on a stable surface. Never fit or remove a blade over your face.
- Cleanse and dry. Wash with a gentle cleanser and pat the skin completely dry. Many people dermaplane on dry skin so they can see the hair clearly. Some use a thin layer of facial oil to reduce drag. We found no dermatology source we could open that recommends one approach over the other, so we do not tell you which to choose. If you are prone to breakouts, do not add a new oil without checking with your dermatologist.
- Hold the skin taut. Use your free hand to pull the skin flat in the area you are working on. Loose skin folds ahead of the edge and is where nicks come from.
- Use a shallow angle and almost no pressure. The blade should lie nearly flat against the skin. If you are pushing, the angle is too steep or the blade is dull. Replace it.
- Take short, light strokes. Move downward on the cheeks and keep each stroke short. Work slowly, as Dr. Piliang advises in the Cleveland Clinic article.
- Never go over the same patch twice in one session. Repeated passes on one spot add irritation without removing more hair.
- Avoid delicate and risky areas. Keep well away from the eyes and eyelids, lips, nostrils, and any mole, bump or blemish. If you want to treat the upper lip, take extra care: the skin is thin and the contours are tight.
- Finish and clean up. Rinse the face with lukewarm water, pat dry, and move to aftercare. Remove the used blade with the correct tool and drop it in a sealed sharps container straight away.
Common mistakes with the tool
- Reusing a blade. A fresh blade costs little compared with irritated skin.
- Pressing harder to “get it all”. More pressure means more nicks, not better results.
- Rushing. A quick, careless stroke is how most cuts happen.
- Working in poor light. If you cannot see the edge and the skin clearly, stop.
Aftercare
The source we could open on at-home aftercare is the Cleveland Clinic Health Essentials piece. Dr. Piliang says the skin may feel a little irritated for a day or so afterward, and advises that you moisturize well and continue to wear sunscreen.
Moisturize and protect
Keep the routine simple: a plain moisturizer, then your usual daily sunscreen. Skip anything that stings. If the skin looks red or feels sore, give it time rather than adding new products.
Sun exposure on treated skin
Cleveland Clinic’s patient page on the professional procedure tells people to stay out of the sun while the treated area heals. That page describes a deeper in-clinic treatment than home dermaplaning, so we are not applying its recovery timeline to your bathroom routine. The takeaway for home use is the general one: protect freshly treated skin from the sun.
How often
Dr. Piliang says she would not do it more than once a week, so the skin has time to recover in between. We cover the frequency question in how often should you dermaplane.
Risks of dermaplaning at home
The Cleveland Clinic home guide describes dermaplaning as low-risk, but low-risk is not no-risk, and doing it yourself with a sharp blade changes the picture compared with a trained professional.
Cuts and infection
The Cleveland Clinic at-home article says cuts can lead to infection, which is why it recommends going slowly and cleaning the razor before and after each use. Its patient page on the professional procedure lists infection and scarring (keloid or hypertrophic, meaning raised scars) among the possible risks.
Irritation
Dr. Piliang says the skin may feel a little irritated for a day or so afterward. Cleveland Clinic’s patient page also mentions a gel or ointment used afterward in a clinical setting to reduce redness, swelling or irritation.
Skin discoloration and hyperpigmentation
Cleveland Clinic’s patient page lists skin discoloration, meaning skin that turns lighter or darker than the surrounding skin, among the risks of the professional procedure. We did not find a source that measures how often this happens with home dermaplaning, so we cannot give you a number. If you notice dark or light patches after dermaplaning, stop and see a dermatologist.
Will the hair grow back thicker?
Cleveland Clinic’s Health Essentials article on shaving (published January 11, 2023, quoting dermatology resident Taylor Bullock, MD) says shaving will not make your hair regrow any thicker or faster. Dr. Piliang says in the dermaplaning article that trimming off the hair above the surface of the skin has no effect on how the hair grows. The Cleveland Clinic patient page calls dermaplaning a temporary fix, because the hair grows back. We compare the two methods in dermaplaning vs shaving.
Limited evidence
A 2011 systematic review of dermaplaning, topical oxygen and light therapy (Pryor and colleagues, Aesthetic Plastic Surgery, PubMed ID 21533984) screened 42 peer-reviewed papers and found the scientific data supporting these methods “scarce, anecdotal, and not well documented,” according to its published abstract. Treat any promise of dramatic skin improvement from dermaplaning with caution, including from us: we make no such promise.
Is a scalpel blade the right tool for you?
That depends on your comfort with sharp tools, not on skin type. A scalpel blade is a precision cutting edge. If you have never held one, practice the grip, the fit and the removal of the blade, away from your face, before you ever bring it near your skin. If you would rather not, a guarded facial razor or a treatment from a dermatologist or licensed provider is a reasonable choice, and there is no shame in skipping the DIY route.
If you do go ahead, start with the simplest setup: one fresh blade on a matching handle, in good light, with calm skin and no distractions. Stop at the first sign of irritation. The hair will still be there next week.
Where to go next
- How often should you dermaplane, the frequency question in detail.
- Dermaplaning vs shaving, how the two differ in blade, angle and goal.
- Scalpel blade sizes, how to read blade numbers.
- Scalpel handles, what fits what.
- Dermaplaning, the #10 blades, #3 handle and #10 set we sell.
Frequently asked questions
People do, and Cleveland Clinic Health Essentials (June 13, 2022) discusses it, quoting dermatologist Melissa Piliang, MD, who describes at-home tools as single blades on a little plastic handle. The same article tells you to skip it during a breakout, an eczema flare-up or any active skin issue, and to go slowly because cuts can lead to infection. Whether it is right for your skin is a question for your dermatologist.
Cleveland Clinic's patient page on dermaplaning (last updated April 6, 2022) lists skin discoloration, meaning skin that turns lighter or darker than the surrounding skin, as a risk of the professional procedure. We did not find a source that measures how often it happens at home, so we cannot give you a figure. If you see patches after dermaplaning, stop and see a dermatologist.
We did not find a dermatology source that recommends a spray for dermaplaning, so we do not name one. The sources we could open describe starting with a clean face and finishing with a good moisturizer and sunscreen. Avoid adding new products to skin you are about to treat unless your dermatologist agrees.